
Looking for a cute and spooky Mother's Day craft?

These gothic floral pop-up cards are perfect for any occasion and fit inside any greeting card. It's a cute way to make personalize a card.
Our collection of premium Gothic Greeting Cards make the perfect canvas for this craft!
Keep reading for a step-by-step tutorial of this simple DIY Pop Up Card craft. Follow this link for a video tutorial: https://pin.it/B74AVu0dI
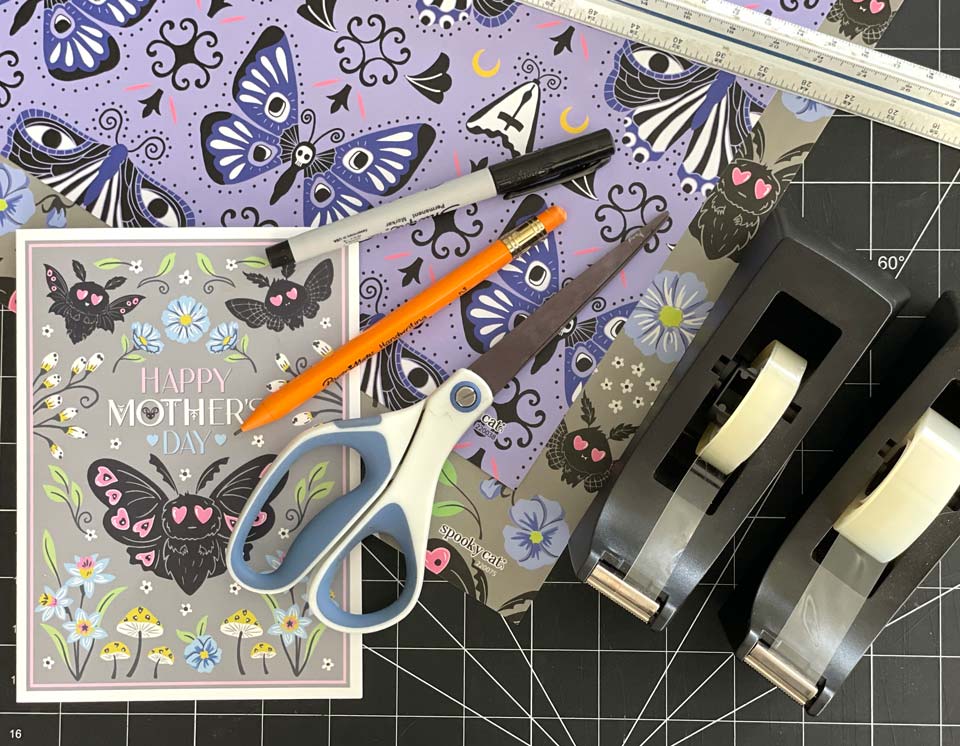
✂ Materials you will need for your DIY Pop-up card craft:
- Gift Wrap scraps or Craft Paper (we love using our premium gothic gift wrap sheets - linked below)
- A Pen or Pencil
- A Ruler
- Double Sided Tape
- A Greeting Card that is blank inside (we have so many cute cards to choose from)
Here are the products we're using in this tutorial from our Gothic Floral Collection.
Step 1: Measure and Cut Your Paper!


The first step is to measure out seven (7) squares that are 8 cm by 8 cm. (Feel free to scale up a bit if you want the flowers in your card to be larger.)
Then, cut out the measured squares using scissors or an Xacto knife.
Each square will fold into one layer of the finished flower.
Take a square and proceed to the next step.
You can use different scraps of paper and have fun with pattern mixing!
We have so many gothic gift wrap patterns to select from!
Step 2-4: Fold Your Flowers
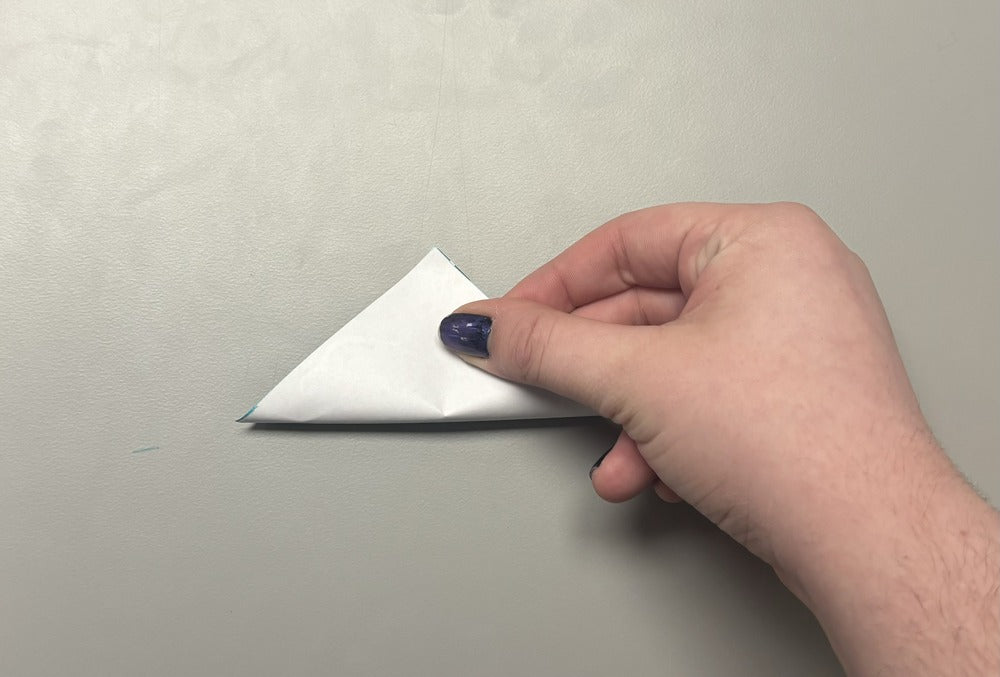


Step 2: (First image) Fold the square you cut out in half diagonally.
Step 3: (Second image) Fold the triangle you made in half again, to make a smaller triangle.
Step 4: (Third image) Finally, fold the triangle you have in half one more time, to make the smallest triangle.
Steps 5 and 6: Make the Petals


Step 5: (Left image) Draw a semi-circle on the triangle you made!
Step 6: (Right image) Cut out that very same semi-circle/
Steps 7-9: Finalizing You Flowers
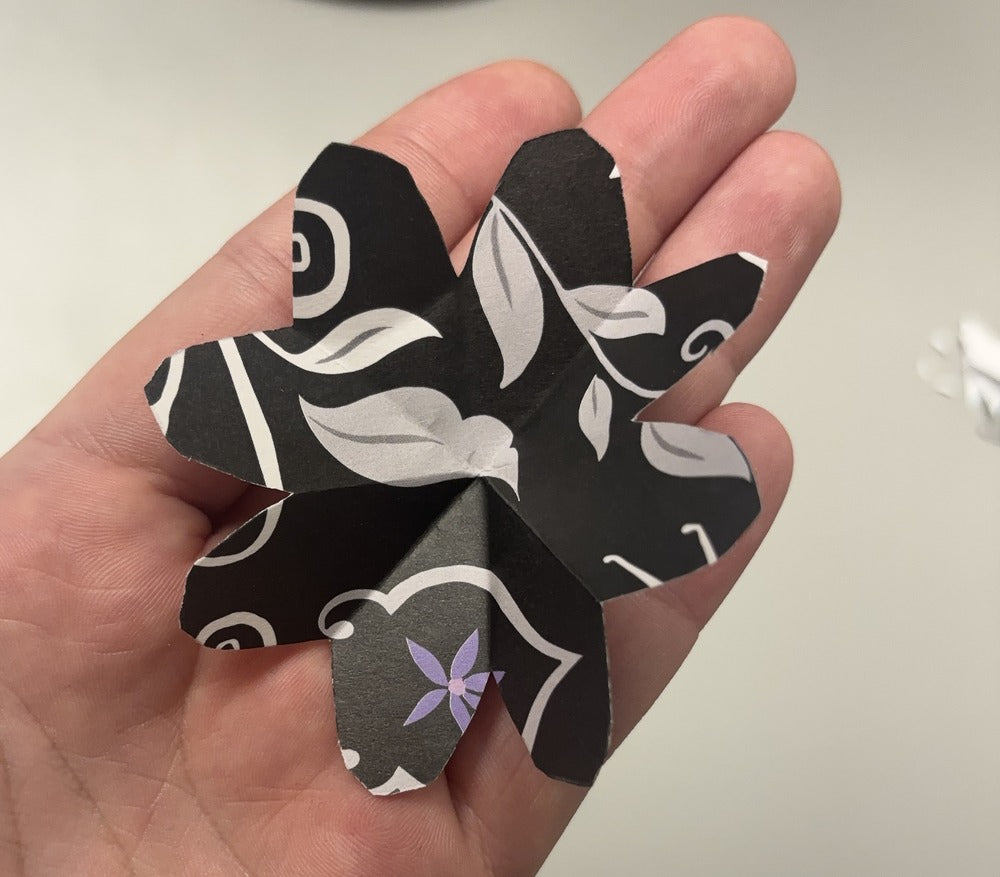


Step 7: (First Image) Unfold the cut out that you made from the triangle.
Step 8: (Second Image) Cut out one petal from your flower.
Step 9: (Third Image) Overlap two of the petals either side of the empty pace, over each other, and use your double sided tape to tape them together.
Step 10: Make more!

Repeat all the steps thus far, on your remaining squares of paper, and then lay all the flowers out like so! This layout helps show how they will attach when taped together.
Steps 11-14: Put All Your Flowers Together
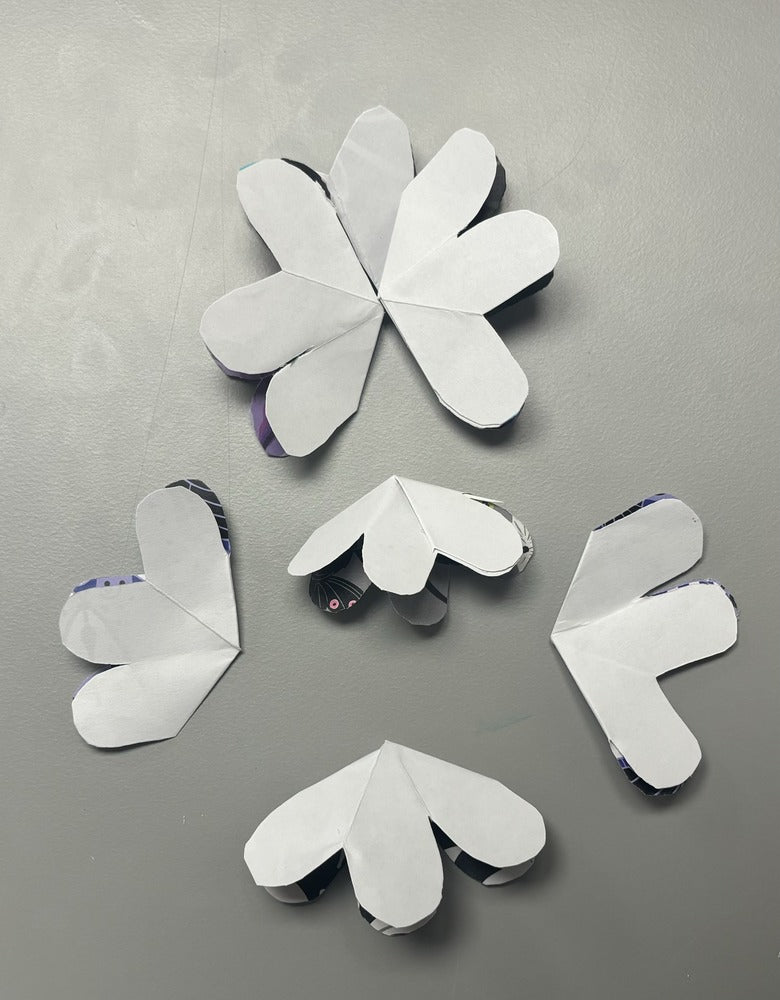


For these steps to make sense, I will be referring to the different layers of flowers by "layer one-five" starting from the top to the bottom!
Step 11: (First Image) Take layer two and place those two over the bottom most petals on layer one. We recommend using a very small piece of double sided tape in the center of the petals that are getting taped together.
Step 12: (Second Image) Take the single layer three flower, and lay it right over where the layer one flower is, and use small pieces of tape to tape each of the three petals to the petals right below them.
Step 13: (Third Image) Put the two flowers associated with layer four over where the flowers for layer two are, and then use small pieces of tape between the middle and highest petal on both flowers, and the layer below it.
Step 14 (Forth Image) Finally, take layer five and put it right over where layers one and three are located. Tape down all three of the petals to the petals under it.
Steps 15-19: How to Attach Flowers to the Card
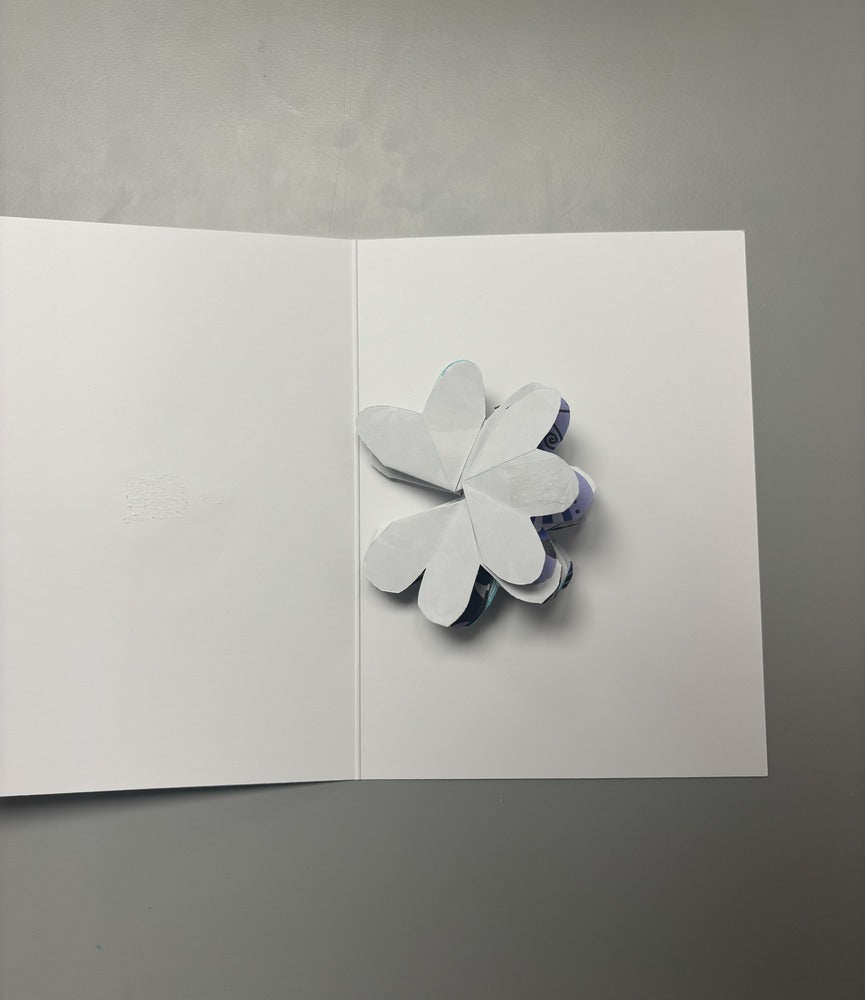


Step 15: (First image) Lay the pile of flowers you made on the inside of your card of choice.
Step 16: (Second Image) Add some double sided tape to the middle most petal.
Step 17: (Third Image) Close the card and press your hands atop it to tape the flower and the card together.
Step 18: (Fourth Image) Open the card so that the flower is resting on the left side of the open card.
Step 19: (Fifth Image) Add tape to the middle most petal on this side! Then once again, firmly press the card closed to set the tape in place.
Step 20: You did it!